
I have wanted to use textures for quite some time, but have been put off by my imagined learning curve. So this weekend I decided to see what was possible to create in a short time. I am amazed at how easy it was to add textures to my images and the great new look I am able to apply.
What are Textures?
Simply put, textures are any random or deliberate patterned, or even a subject image that you apply in a layer to your base image. You can buy beautifully hand painted textures at sites such as French Kiss Collections or shoot your own. When out shooting I take pictures of brick walls, wooden planks, beach sand, and the like and add them to my collection. You can build up quite a few over time. I recommend shooting the largest, highest quality files possible so you can use your textures in larger images. You can crop or re-size the textures for each application.
Applying Textures in Photoshop
The process of applying textures in Photoshop is straight forward. Open the base image and make any adjustments including cropping. Then open the texture image, and copy and paste it to the base image. It will create its own layer. Then change the Blend Mode of the texture layer to Multiply or Overlay and adjust the layer Opacity. You can experiment with other Blend Modes for creative effect. Once you are satisfied, save your file including layers if you would like to make future adjustments, or Flatten the layers and save it as a TIFF or other high quality image file. Here is one example I created using French Kiss Collections. It is of the flowers on a red potato plant I have growing in a pot on my deck.
Here is the original macro shot in Photoshop CC. I have turned off the Text and texture layers in this illustration.
Click on any image to enlarge it.

Original image in Photoshop CC
This is the French Kiss texture in a separate layer with a copyright notice I added. I turned off the Background layer.
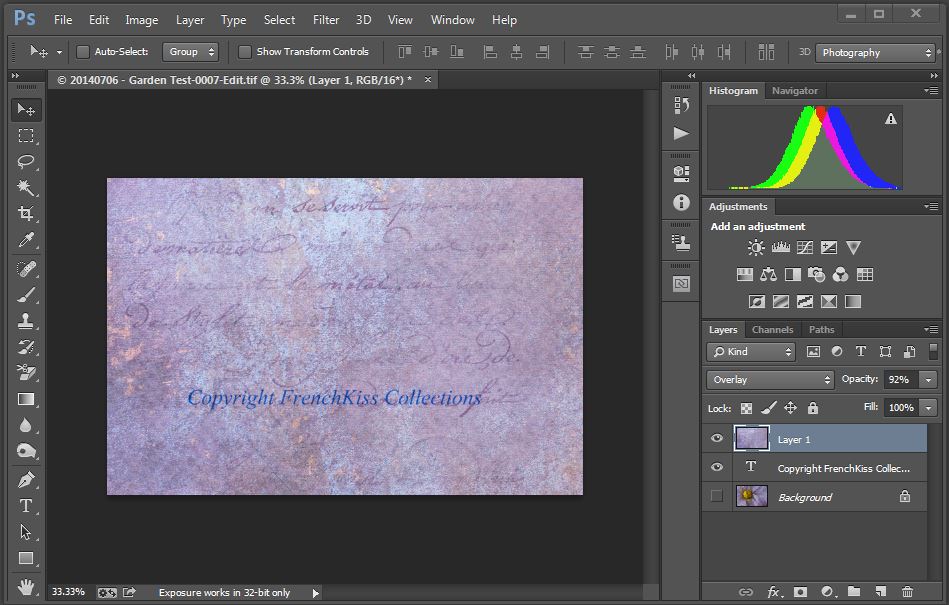
French Kiss texture in Photoshop CC
And here is the final product after merging the layers and saving the image disk.

Final image with French Kiss texture
Conclusion
Given how easy it is to create these overlays I encourage you to try using your own shots and textures. Of course, you can perform much more complex work using textures but, as you see, it may not be necessary to obtain great results.
References
You will find a wealth of textures, overlays and templates at French Kiss Collections along with a large number of tutorials to get you started or to help make you an expert.
Happy shooting!
Michael
Copyright
© Michael J. O’Connell, 2014. Unauthorized use and/or duplication of this material without express and written permission from this blog’s author and/or owner is strictly prohibited. Excerpts and links may be used, provided that full and clear credit is given to Michael J. O’Connell and this blog with appropriate and specific direction to the original content.
